A
Archive-8
Guest
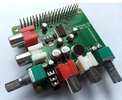
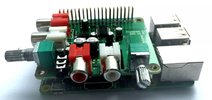
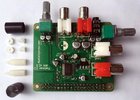
Fancyed playing with one of these audio injectors.


You can put the audio injector into an already existing audio setup by splicing it into a sound path. It is simple - plug into the audio injector and plug out again. The original audio can be put straight through. If a straight through isn't what you want, then use the ALSA mixer to turn off the bypass.
The Audio Injector sound card is designed to keep the same PCB profile of the Raspberry Pi, with the PCB edges and GPIO header in exactly the same place. This means that your current add ons and hats will still plug into the Raspberry Pi keeping the same profile, just a bit taller!
Headphones: 50 mW max power into 16 ohm and 30 mW max power into 32 Ohm headphones (check the updates to see more)
Driver : ALSA
Latency: As low as 0.54 ms in or out (that is 540 microseconds !)
Linux : Already integrated into the Raspberry Pi kernel. If you have an older version of the kernel, simply run "rpi-update" if you need to. Edit /boot/config.txt and set dtoverlay=audioinjector-soundcard
DAC and ADC : 96 kHz, 32 bit audio.
Analog Voltage : 3.3 V rail to rail. Separate linear supply to reduce noise.
GPIO : Standard 40 Pin header, broken out above the add on card to accept more add on cards and hats.
It's dac chip is also a wolfson.
