pjgregory
Member
- Joined
- May 6, 2008
- Messages
- 46
- Reaction score
- 1
- Points
- 0
- Age
- 76
- My Satellite Setup
-
Humax FoxSat HDR,
Prodeline 3.7m dish,
Invacom C120 Quad LNB,
50m Hirschmann KOKA 799/500 Cable,
HD Home Theater System
- My Location
- Montepulciano, Italy
In previous post
http://www.satellites.co.uk/satelli...0155-astra-2d-central-italy-smaller-dish.html
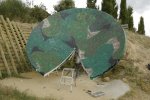
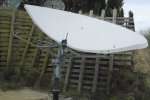
I described how I managed to get daytime reception of Astra 2D in central Italy with a 1.2m CM dish. Well my new Prodeline 3.7m arrived from the USA a few weeks ago, so this is the ongoing story of getting it assembled and working. Hopefully it will have a happy ending - BBC1 24/7!
The first thing you realise is just how big and heavy this thing is. The shipping crate (a cardboard box on a wooden pallet) measures 2m x 1.9m x 0.6m and weighs 256Kg. The Prodeline assembly instructions tell you to first assemble the glass fibre dish and rear metal supports, and then lift it onto the mast. They do say "at least three persons are required for the installation.... ", but still no way! So I decided to change the processes as follows.
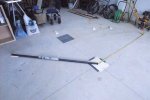
1. I marked out the positions of the 8 glass fibre petals on the garage floor. Then, on the circmference, I used packing pieces of plywood to ensure that the outer joint was level with the center point (002.jpg). This an interesting exercise as I found that the height difference around the rim was up to 4cm relative to the center. Never assume a floor is level, not over this size anyway.
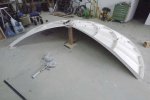
2. Using the recomended 24" centre brace and metal cover plate to support the center, I then assembled the fibre glass sections with bolts just finger tight. (006.jpg)
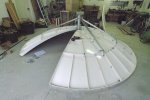
3. Leaving out one of the sections, I attached the metal supporting brackets and angles to the central column, again will all nuts finger tight. (008.jpg)
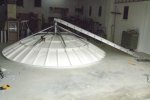
4. Then with the last section in place, and a ladder balanced on the center support, I tightened all the bolts in the order specified to bring the dish into shape. (015.jpg) All of the bolts holding the metal arms and support brackets were tightened really hard to ensure that they would remain locked in position for the next step.
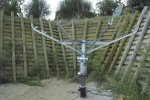
5. Finally, I numbered and marked each joint with a felt tip pen - drawing around the metal support brackets. I then removed the 2 bolts to each joint holding the metal arms to the dish and, with the aid of my wife and willing helper, removed the whole metal support structure in one piece. Although still heavy, we could now carry this down to the dish site and mount it on the mast.

